Showing posts with label handmade. Show all posts

Friday, June 27, 2014

Friday Feature: summer buttons

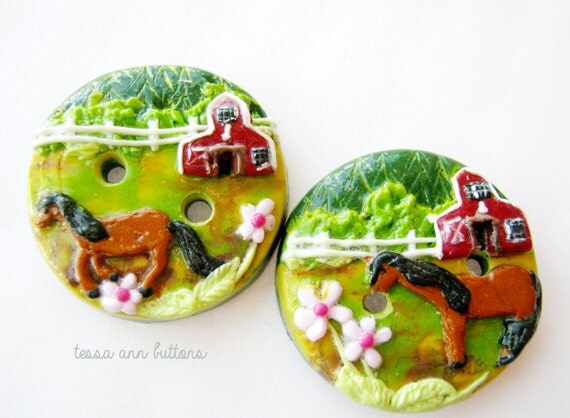
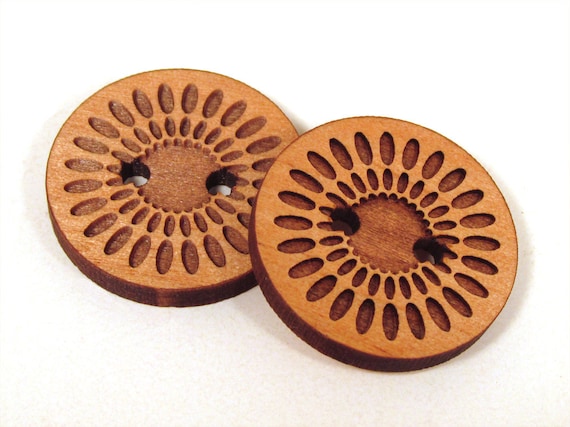
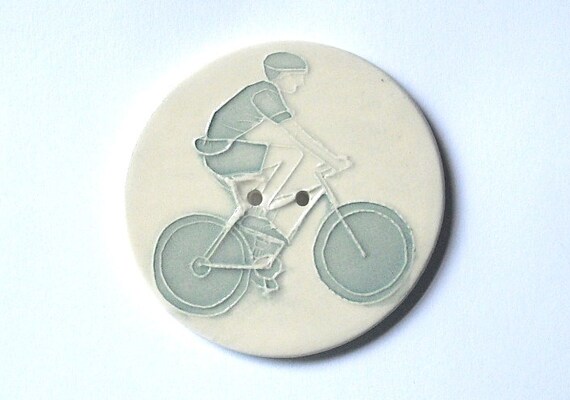
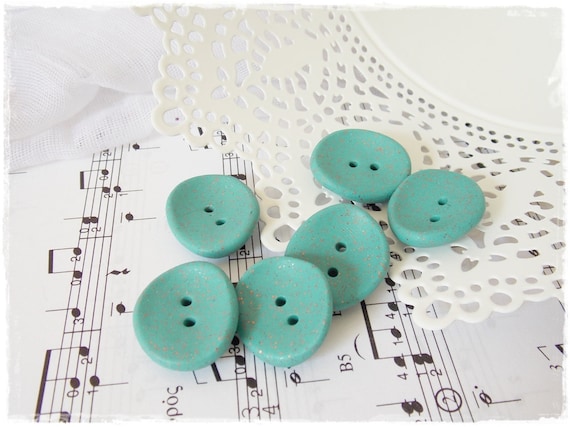
This week I'm revisiting one of my favorite features from last year: summer buttons. Think about picking up items from one or more of these sellers for your summer crafting this year.

https://www.etsy.com/listing/193021111/ready-to-ship-summer-pony-set-of-2

https://www.etsy.com/listing/183361537/wooden-buttons-engraved-laser-cut-flower

https://www.etsy.com/listing/156665820/xxl-25-handmade-ceramic-button-2-hole

https://www.etsy.com/listing/77644773/6-handmade-ceramic-buttons-small-purple
 
https://www.etsy.com/listing/165624496/large-turquoise-buttons-oversized-clay

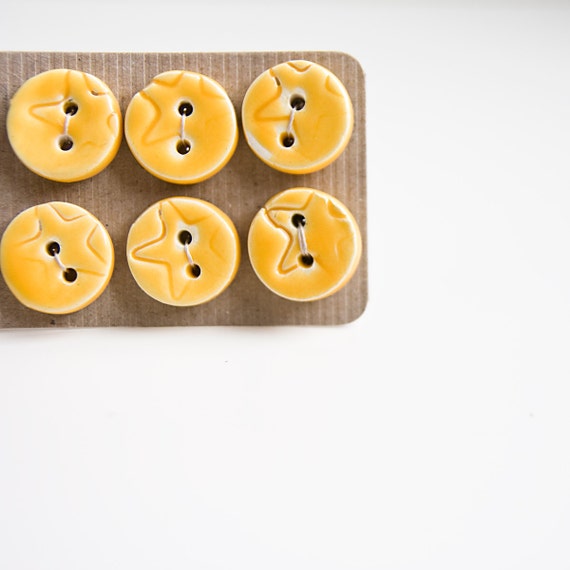
https://www.etsy.com/listing/105349531/ceramic-buttons-bright-yellow-handmade

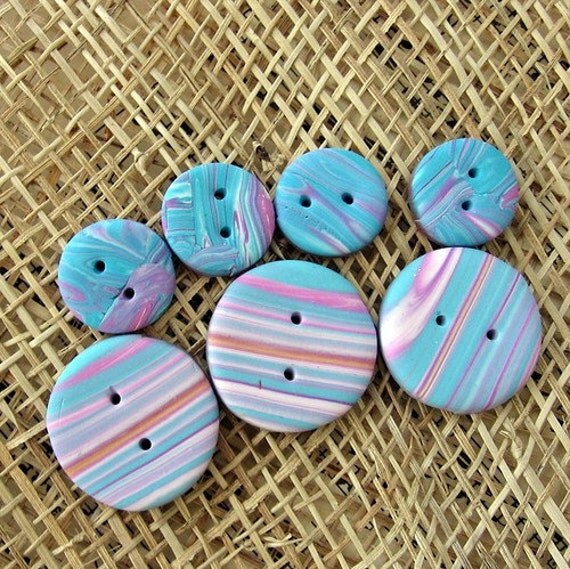
https://www.etsy.com/listing/34830056/blue-and-pink-hand-made-marbled-polymer

Do you use buttons in your art work or craft projects?

Thursday, May 1, 2014

X is for (Sassy) Cross-Stitch

Are you ready for another round of Alphabe Thursday? Let's go!

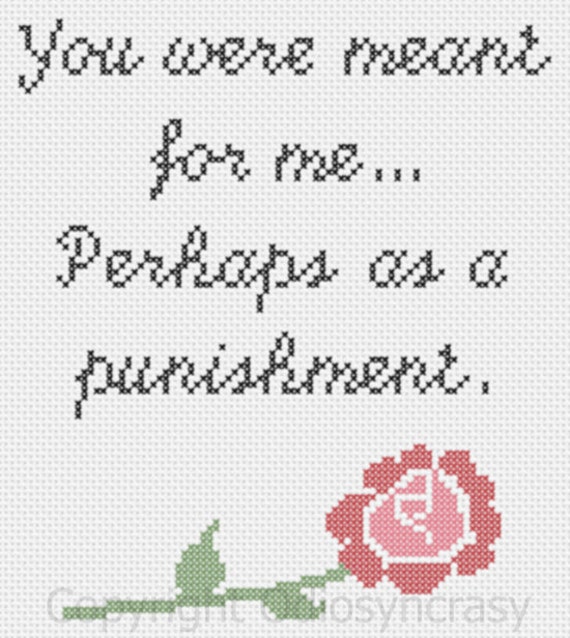
A little while back Paige included a sassy cross-stitch in one of her Pinterest picks posts. I proceeded to spend way too much time looking at more sassy cross-stitch offerings on Etsy. Some of you know that before I got serious about jewelry making, I spent the better part of five or six years in a counted cross-stitch obsession. I kind of burned out on it, but I hope to get back to it someday. There are so many amazing patterns out there.

Today I'm featuring just a few of the sassy cross-stitch options on Etsy. As this is a family-friendly blog, I've only included items that don't have excessive profanity. Believe me, they are out there.

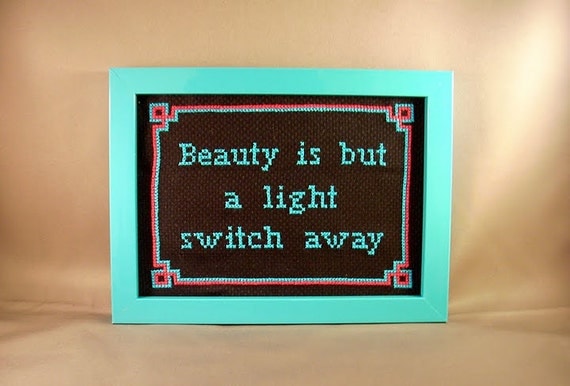
https://www.etsy.com/listing/53286278/beauty-is-but-a-light-switch-away

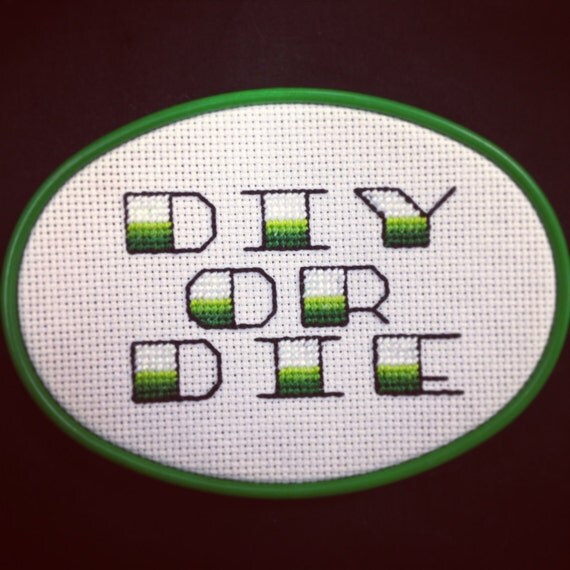
https://www.etsy.com/listing/130338373/diy-or-die

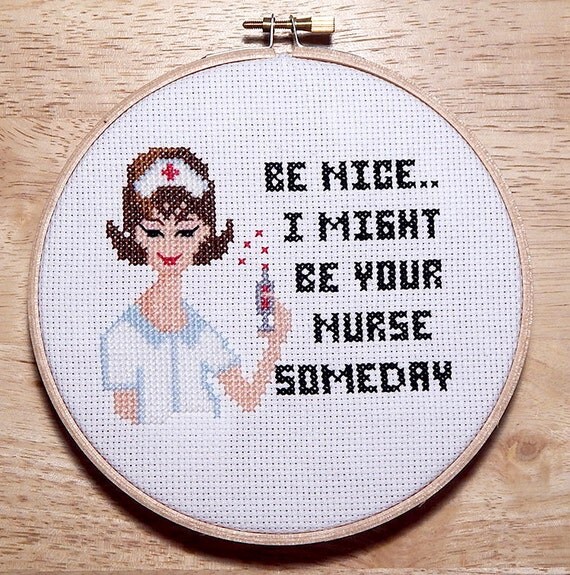
https://www.etsy.com/listing/187357235/sassy-lady-nurse-retro-cross-stitch-pdf

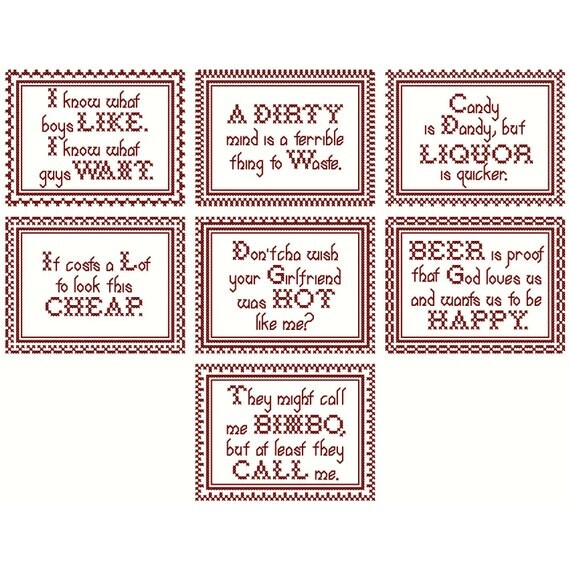
https://www.etsy.com/listing/85170076/set-of-seven-naughty-nanas-sassy

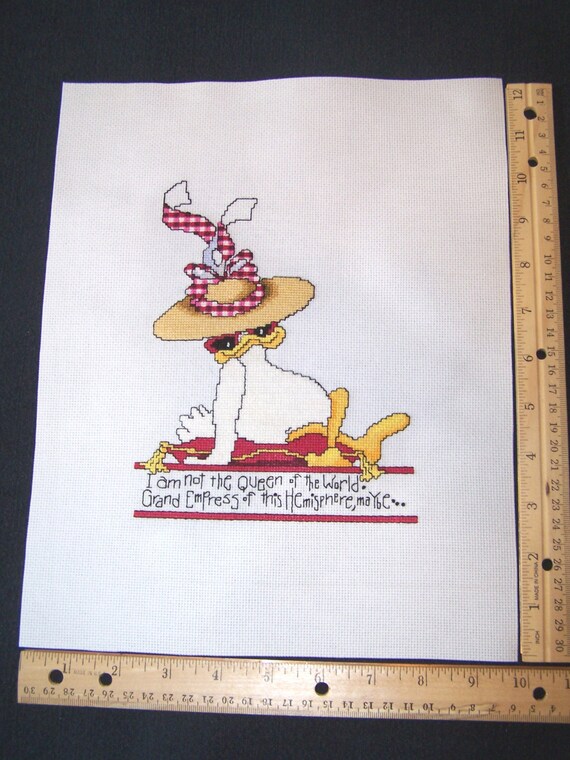
https://www.etsy.com/listing/151534867/mitzy-the-duck-cross-stitch-picture-not

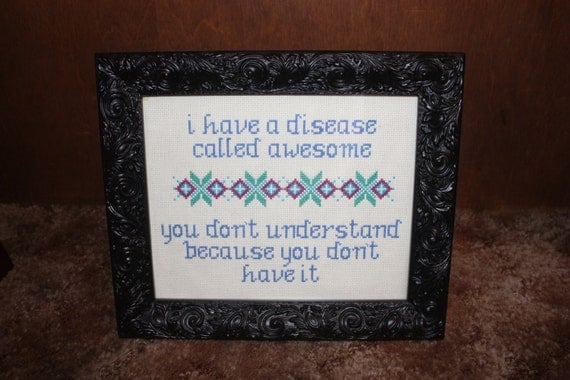
https://www.etsy.com/listing/180246823/i-have-a-disease-called-awesome-finished

https://www.etsy.com/listing/174504072/quote-about-love-destiny-cross-stitch

Check out what the other Alphabe Thursday participants posted for the letter X this week right here!

Tuesday, October 22, 2013

shower preview

We all know that I don't have the best track record for taking pictures during the parties that I host. So I'm making a point to share a few of the things that I've been working on for the shower I'm co-hosting for my future sister-in-law this weekend.


Are you hosting any events in the near future?

Tuesday, July 17, 2012

July BBA Giveaway: Win a hand decorated jewelry box!

This month, Jenny of A Bird in the Hand Art is giving away a beautiful jewelry box on the Blogging Business Artisans blog!


Jenny painted and stamped the box.  She also added the dividers and the fabric ring holder.

The box measures 8.25" x 8" x 1.75."  It is such a versatile color combination, size, and design.

To enter this giveaway, head over to the Blogging Business Artisans giveaway post.  Please don't leave entries on this post.  You can enter through Thursday, July 19 11AM CST.  Thanks!

Do you have a jewelry box?  If so, what does it look like?

Newest article:
How to Get Rid of Clutter: Decluttering Tips
DIY Wedding Favor Ideas

Where I Linked Up Today:
Treasury Tuesday

Thursday, December 30, 2010

cork board coasters

I like to give handmade gifts for my mom's extended family.  As I'm sure you already know, I like to give handmade gifts to other people as well, but I like to make something relatively simple for all of them, too.  I made sugared nuts for a couple years.  Last year, I made button magnet sets for a few of them.  I needed something different this year, and I found this cute idea in a library book with lots of ideas for handmade party supplies.

I'm posting this after I gave out all of the coasters so that I wouldn't ruin the surprise for anyone.

This is my initial supply set up: 1 pack of 4 12"x12" cork boards, cutting mat, craft knife, ruler, 3"x3" photos, and contact paper.  I got my cork boards at Staples.  They're available at almost any office supply store and a lot of the big box stores like Target.  I got my cutting supplies at Target.  I order contact paper for work in bulk through Office Depot.  I should mention that at this point, I'd already formatted and printed all of the pictures that I was going to use.  I take tons of pictures and had lots to choose from so I didn't take any specifically for this project.  I used Microsoft Word to format my pictures and then printed them on photo paper.  If you need more instruction in this, let me know.  You are welcome to use other word processing or photo programs for this, too.  You can make your pictures/coasters any size that you like.  Keep in mind that 3x3" or 4x4" are very easy sizes for working with 12"x12" cork boards.

I covered the front side ONLY of all of the photos with contact paper.

Here's all of the contact paper cut out.

I covered the front side of the photos and cut them out.  I formatted my pictures to 3"x3" for 3"x3" coasters so I did not leave any border.  You can choose to format your pictures smaller than your coasters and cut borders for them.


I measured and marked 3"x3" squares on each of the cork boards.  I used a black rollerball pen for this.  A ball point pen might suffice, but I think that a rollerball will be easier.

Here they are cut out.  I recommend starting your cuts at the bottom and working your way to the top.  This helped me keep my lines straighter than I would have if I'd attempted to cut all the way down at once.

I broke out my glue gun for the first time ever for this if you can believe that (hence the instructions next to it).  I glued around the edge of each coaster and filled in the middle a little bit.

Here they are all finished.  I laid them out as I glued them and then stacked them later after they'd dried and cooled.

I bundled them up by theme and tied them with ribbons.

I made 48 coasters total.  Making this many at once was a pretty time consuming project.  I'm sure that I spent at least 6 hours on the whole thing (which doesn't count wrapping them).  If you are less ambitious and want to make a single sheet of 12 or 16 coasters at a time, it will probably only take you 2 hours.  Either way, the effort is well worth it.