Showing posts with label BBArtisans. Show all posts

Friday, May 29, 2015

Life Is What You Make Of It

"Life is what you make of it / so beautiful or so what." is in the inspiration for my latest treasury.


 I selected these items with late May / early June in mind.

https://www.etsy.com/treasury/NjEwMzAwOHwyNzI0OTczODU5/life-is-what-you-make-of-it

And these items via Pinterest...

http://www.brit.co/braid-accessories/

http://www.thecherryblossomgirl.com/giverny-claude-monet/21140/

http://www.lookbookstore.co/products/cut-out-crochet-top
 
http://www.bhg.com/blogs/centsational-style/2013/05/30/outdoor-room-series-patios-balconies/

http://theroadtodomestication.com/2013/07/19/got-color/
 
https://500px.com/photo/22440963/young-couple-on-the-street-of-the-city-with-umbrella-by-vladimir-nikulin-masson

Do you have any favorite late spring / early summer picks?

Tuesday, August 27, 2013

Getting Ready for Fall

Many of you already know that my brother is getting married this fall. As soon as I knew that I was going to be in the wedding party (and before we'd ever talked about things like shoes, jewelry, etc.), I started thinking about possibilities for jewelry. I find it really funny when I meet people who make jewelry and don't actually wear a lot of jewelry themselves. Isn't half of the fun of having jewelry making skills using them to make customized pieces for yourself? Anyway, aside from my recent Renaissance Fair piece, I haven't made jewelry for myself for an event in years. It's way past time.


I don't work with a lot of Swarovski beads, largely because they're expensive, and I would rather purchase larger quantities of more affordable beads. But for some reason, I was really called to them for this piece. They're available in a wide range of colors, including lovely fall shades. So I went ahead and ordered a batch.


I'm planning to make a triple wrap bracelet, kind of along the style of the very popular leather wrapped bracelets but beaded. The colors for the wedding are red and dark blue, so I will most likely figure out a way to work a hint of blue into this piece. I obviously haven't worked out all of the specifics yet, but that's okay. I'm excited to get going on it this next month.


I am using this post for the August Blogging Business Artisans monthly challenge Fall is Coming. If you have an Etsy shop and enjoy blogging, think about joining our team today.

How are you getting ready for fall?

Thursday, May 16, 2013

May BBA Flowers Challenge

Some of you may remember this bunny family idea that I shared earlier this spring. While I still think that it is insanely cute, it doesn't really fit with anything else in our home. I'm not sure how I decided on flowers instead. I still had a bunch of felt and paper flowers left over from last year (more on those flowers over here), which meant that this project came together really easily. And it just so happened to fit the May challenge theme.


The biggest challenge was figuring out what kind of fabric I wanted. It's very rare that I use fabric for crafting. I intentionally don't keep much of it on hand because I simply don't need to spend the time and money building a stash of material that I will hardly ever use. This meant that I had to purchase something. I eventually settled on burlap.


Materials
  •  A set of embroidery hoops. I picked up a set of five in two different sizes on Etsy. I paid less than half of the retail value. If you scout a lot of thrift stores, you may be able to score a set for even less.
  • Felt rectangles and buttons of your choosing for flowers and leaves in the colors. Michaels has felt rectangles for less than 30 cents each. It is time consuming to make, cut, and glue these flowers and leaves, but they are very inexpensive to make. Again, you can read more about them here.
  • Fabric of your choosing for the hoop backings. I bought half a yard of burlap and used about half of it.
  • Tacky glue (for the flowers)
  • Nails (for hanging the hoops)

Even if you bought everything new for this project, you most likely wouldn't spend more than $30. I know that many people already have a lot of the materials on hand.


The assembly process is pretty self-explanatory. It's important to take your time stretching and cutting the fabric so you end up with evenly stretched fabric and closely cut ends. I used more tacky glue to attach the flowers to the burlap. As you will not be handling these pieces, it is not necessary to use a really strong glue like E-6000 or an epoxy.


I completely winged the hanging job and did readjust a few of the hoops in the process to get a look that I liked. I know that many people will do something much more sophisticated to get a certain aesthetic, but that's pretty much exactly how the hanging process goes around here.


I'm really happy with my little flower hoops. I've been slowly filling out one of the wall spaces in my office area of the basement, and this set is a great final touch.

One of the best aspects of this project is that there are so many ways that you can customize it. With different fabrics and colors, you could easily create a completely different aesthetic. There is no reason to feel limited to flowers either. After all, my original inspiration was the bunnies.

I used this project for the May 2013 Blogging Business Artisans Flowers Challenge. If you enjoy these types of challenges, love blogging, and are looking for a new team on Etsy, consider joining us.

Have you been working on any new home decor?

Thursday, February 21, 2013

little late to the game

I titled this post little late to the game because if I'd had my act together, I could have had these new pieces up and promoted for Valentine's Day. I didn't. Honestly that thought didn't even cross my mind until I was looking through the BBA challenges recently and realized that I'd missed the boat. The good thing about these pieces is that they're versatile enough to carry you through many other holidays and occasions as well.

I sold the original version with this all red color palette nearly a year ago, but it's back now.


Whenever I create a new button charm bracelet, I try to make a pair of matching dangle earrings. I'm determined to keep this earring style in stock in 2013 and am introducing lots of new versions of it.


Both of these new pieces are in the shop. I've created a lot of single color palette button charm bracelets in the past few years and would like to branch out a little more in 2013. Any inspired ideas for color combinations with red? And yes, I've already done turquoise and red.

Keeping with my recent Polyvore kick, I created a couple outfits that I think work well with these new pieces.

Rose Classic Work


Rose Every Day


I'm using this post for the February BBA Challenge: Red.

Have you created anything in red lately?

If you enjoy this type of artistic challenge, blog regularly, and are looking for a new team on Etsy, consider joining the BBA team. We'd love to have you!

Newest article:
Easy Homemade Mother's Day Craft Project Ideas: Button Projects

Thursday, December 27, 2012

BBA Secret Santa Reveal

We had so much fun with the BBA Secret Santa in 2011 that we decided to bring it back for 2012. Once again, the deal was that we could give handmade and/or store bought gifts totaling no more than $20. Things went smoothly all around. I'm excited to share more details about how it went on my end.

I was Nancy of NFallonDesignStudio's Secret Santa. I sent her a set of my music note cards and some music gift tags.

When I make music greeting cards, I always end up with little music scraps left over. I use a lot of them to make magnets, but they worked perfectly for making gift tags, too. This was a perfect opportunity to try out my new to/from Christmas stamp.


Linda of PruittCreations was my Secret Santa. Look at what a wonderful job she did with the wrapping! It is so much more amazing than anything I will ever do in that department.

I inspired Linda to make this table runner back in March for my turquoise/red challenge, and she wanted me to have the piece. She created it for Easter, but I think that the colors work for Christmas, too.

Linda also sent me some beads and dark chocolate. My teammates know me pretty well! Thanks for everything, Linda!


If you are not already part of the BBA, hop over to the join section of the blog and think about becoming part of our team.  We'd love to have you!

Thursday, September 20, 2012

September BBA Challenge: New Technique

The September Blogging Business Artisans challenge is to attempt a new medium or technique. We did this challenge earlier in the year, and Nancy liked it so much that she brought it back. As some of you know, I've been fascinated by sewing with paper this year. I've also been taking my photography to a new level. I love mixed media, but I've never done much with it myself. I have mention that I saw this post this summer and haven't stopped thinking about it since. Finally, I've had this yearning for a few months to do something with turquoise and red decor in our house. It was time to bring all of that together for a brand new project.

A couple disclaimers:
  • This is not a $5 or less DIY project that comes together in half an hour.
  • This is not a comprehensive tutorial with step by step directions and photos. I will walk you through my basic creation process, which will give you most of the tools that you need to attempt a similar project on your own if you wish.

This project started with this simple photograph. I took this during the summer. This is what it looked like straight out of the camera, unedited. It's a piece of playground climbing equipment.

It is extremely rare that I take a photo with the intention of doing a major editing job on it, but this was one of those occasions. I played around with about half a dozen different edits before I settled on these three for this project.


Crazy transformation, right? It is so hard to know when this kind of editing feels "done," but at some point, you have to feel satisfied and leave it alone.

I chose to have my pictures printed elsewhere in an 8x10" format. You can print them off yourself at home if you like. Once I got them back, I set to work gathering my embroidery thread.
I have a fair amount of embroidery thread stashed away finished cross-stitch projects and the good old days of friendship bracelets so I didn't purchase anything new.

I was extremely nervous about sewing on a photograph. I was worried that it was just going to come out a big crumpled mess. Thankfully it didn't at all. My best advice is to GO SLOW and to brace the photograph against something flat. I used a clipboard.
I went into this without much of a game plan. I mixed thread strands as the inspiration struck, and I did my best to keep working my way all the way around each circle.

These large circles were pretty easy to complete. Some of the smaller ones were tricky, especially around the edges of the photograph. I was worried that I'd puncture a big hole right on the edge somewhere. I didn't, though.

I only added embroidery detail to the black and white print. I left the red and blue as is. The next step was to frame them.
I wanted silver frames, but I didn't want to spend months hunting for the perfect ones and then spend a lot of money when I finally found them. I got these frames at Michaels for 55% off with a sale and a coupon. They were about $7 each.

I know that many of my readers use spray paint way more often than I do. If you haven't done something this before, it's pretty simple. Take your frames apart and lay the wooden pieces on newspaper in a well ventilated area. Follow the directions on your spray paint. If you are using a metallic spray paint like I did, beware that you will end up with silver sparkles everywhere. Not a problem, right? We all need a little more sparkle.

When the paint was dry, I put the frames back together with the new prints.

I thought you'd like to see a close up of the embroidered piece in its frame.


I hung them up in my little office area of the basement. Does anyone else still have some of those little prints from university art sales? Those pieces have been with me through a lot of moves.

I can't even begin to tell you how excited I am at the success of this project. I'm also really happy that Jake is psyched about this new wall art. Of course I jumped right in and attempted an 8x10 photo with a lot of stitching and a customized frame job. This is how I usually roll. Now that I've completed a big project, I have some idea for smaller, simpler photo embroidered pieces.

When I ordered these 8x10 prints, among other things, I also ordered some 8x10 prints from our recent trip to the Wisconsin Dells. We have tons of pictures up all over our house, but I haven't added many new ones since we moved here. It was way past time to do that. I got these new prints hung right after I hung my project.

What have you been working on lately that has challenged you?

If this challenge appealed to you and you enjoy blogging on a regular basis, consider joining the Blogging Business Artisans.


Thursday, September 6, 2012

September BBA Giveaway: Custom Tennis Bracelet

Sharla of BeadedTail is giving away a custom tennis bracelet on the Blogging Business Artisans blog this month! You'll get to pick the colors, length, and other details. Here are just a few possibilities.


For more information about these pieces and other tennis bracelets currently for sale, check out the tennis bracelet collection in Sharla's shop. Someone is going to be a very lucky winner!

The giveaway runs through September 21 at 11:00 a.m. CST. Please head over to the giveaway post to leave your entries. I cannot accept entries on this post. Thanks!

Thursday, August 16, 2012

August BBA Giveaway


The Blogging Business Artisans have brought you another fantastic giveaway for August.  This giveaway is from Kaili of clockworkghOst.  She is very generously offering a $50 gift certificate to anything in her shop.  Her shop includes original art, photography prints, art prints, gift tags, bookmarks, and more.  Many of her items are $10 or under so your $50 can go pretty far.

Here are just a few of my favorite items from her shop.


You can enter this giveaway through Wednesday, August 22 at 11AM CST.

Head over to the Blogging Business Artisans giveaway post to get all of the giveaway information and to enter.  Please don't leave entries on this blog post.  Thanks!

Newest article:

Thursday, May 17, 2012

Favorite Inspiration: the May BBA Challenge

Sharla of BeadedTail came up with our May Challenge: Inspirations.  She writes, "Your challenge is to incorporate your favorite inspiration into a project of your choice."  I'm sure it's not a surprise that I'm frequently inspired my color.  I'll see neat color combinations anywhere...in a clothing store, in nature, etc., and I'll immediately start thinking about how I can incorporate them into art.

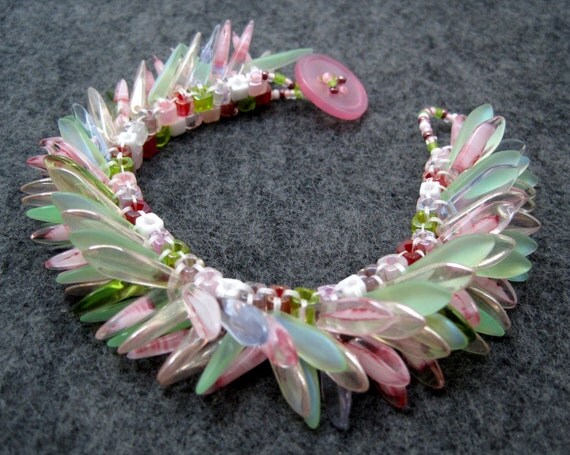
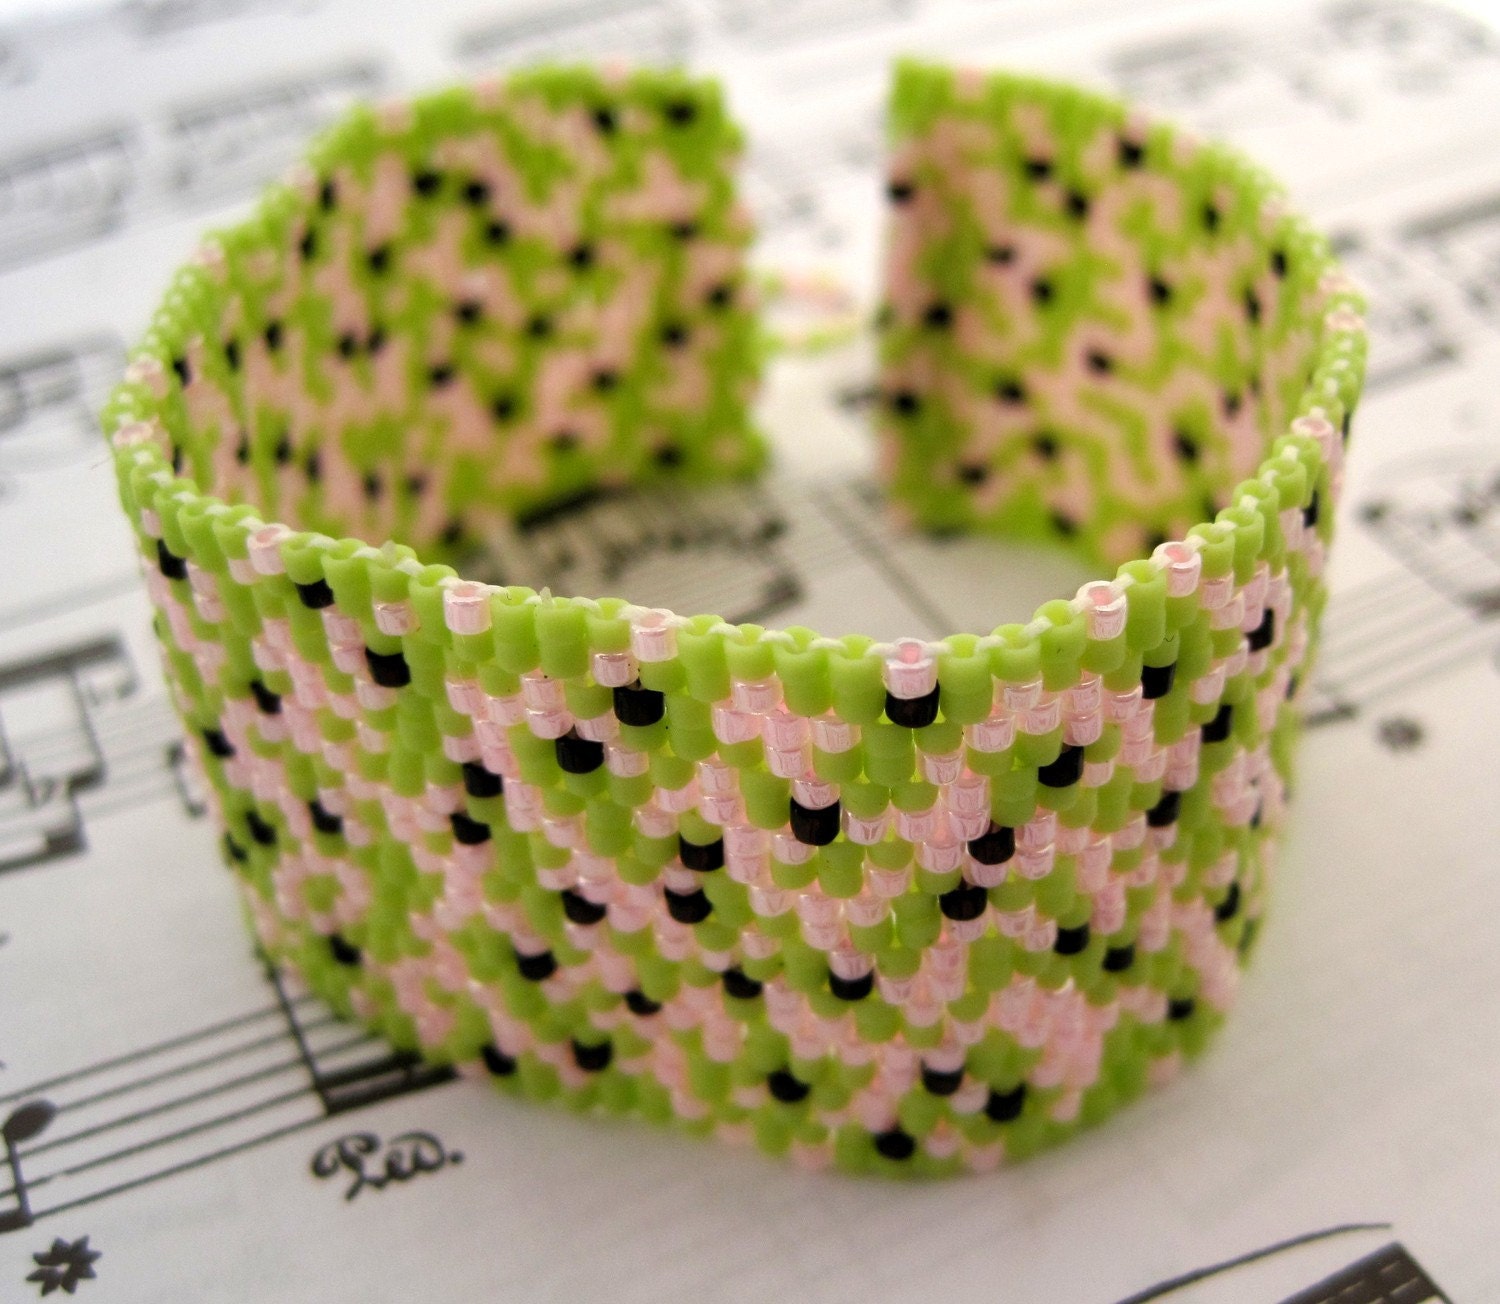
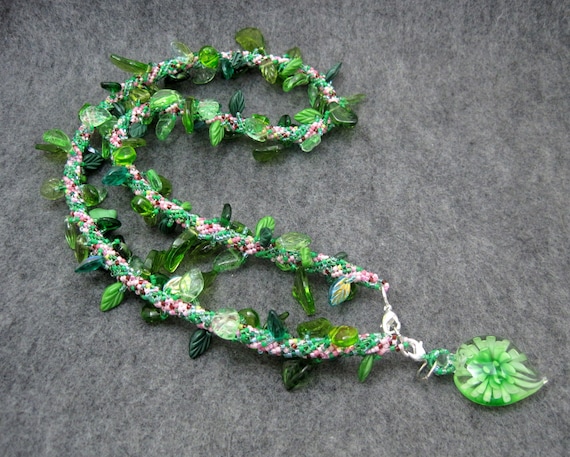
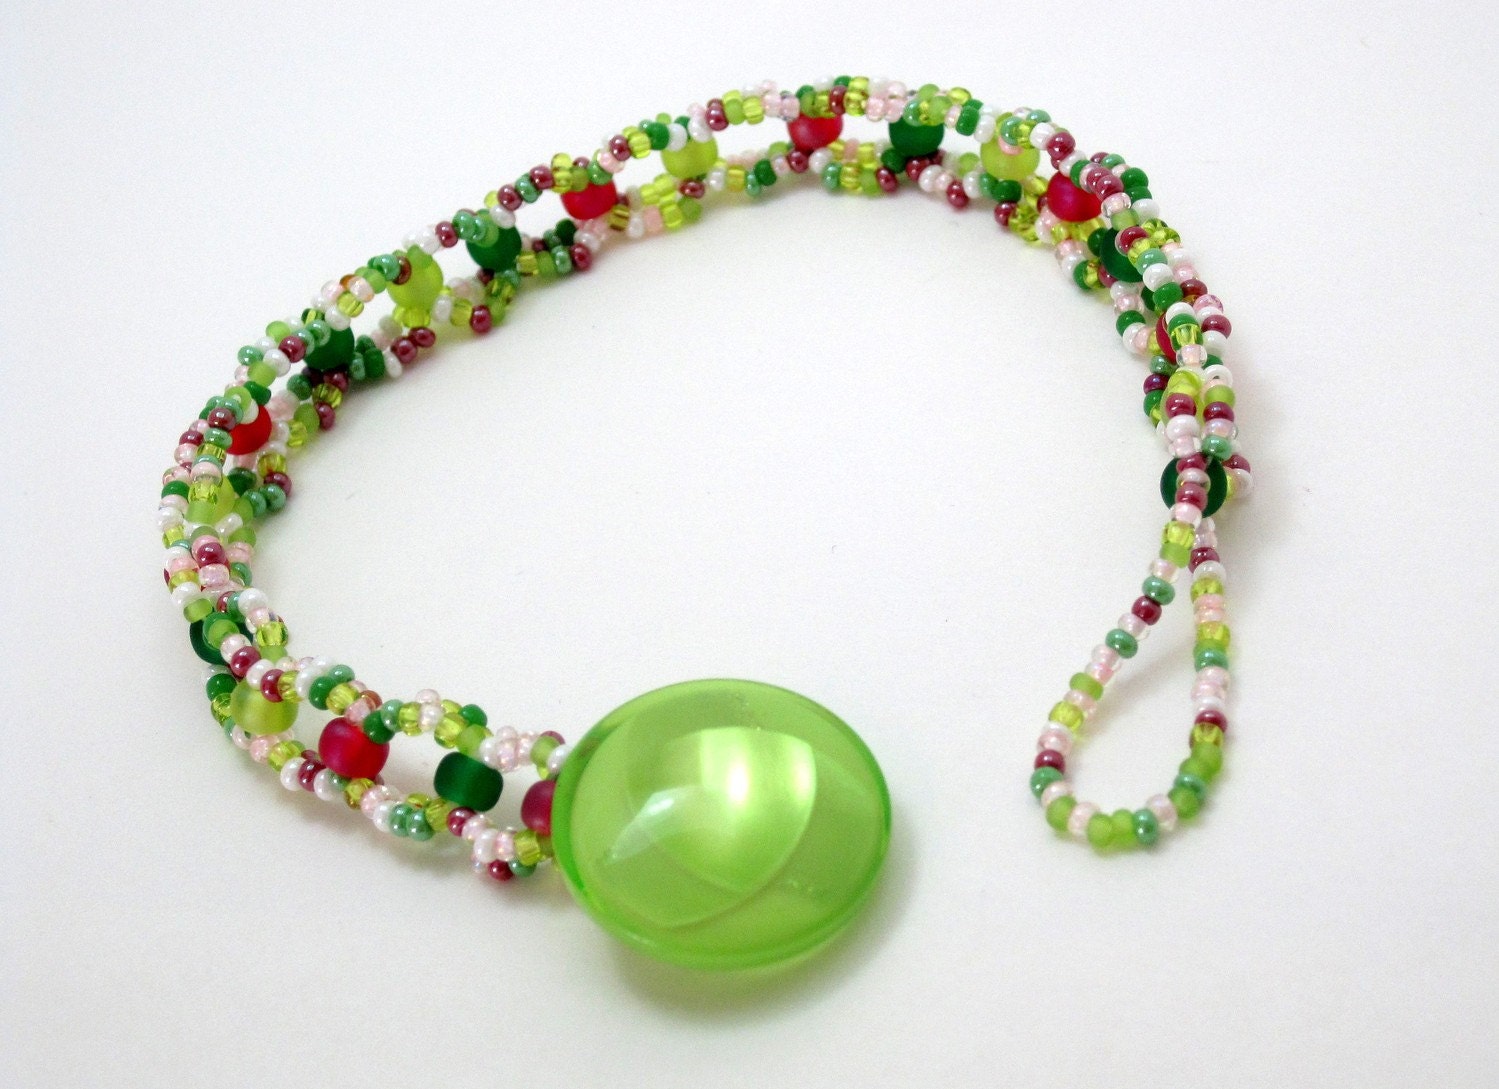
Most of you already know how much I love turquoise and red.  I also really love pink and green.  Pink is not one of my favorite colors, but I love it paired with green.  Here are a few ways that I've used this color combination in my jewelry making in the past.


For the most part, when I write craft articles, I pull ideas from lots of different sources.  I do use my own photos as I can, but I often use photos from others, too.  After I wrote my junk mail crafts article, I started thinking about other recycled papers to use for crafting.  I was in the middle of doing a big magazine purge and decided it was well time to create my own art for an article and to use my own photos exclusively in the article.  The pink and green color combination seemed like a good fit for graduation, Mother's Day, and spring cards.

I'm really happy with how both the cards and the article.  My recycled craft articles have done well so far.  Hopefully this one will, too.

Do you ever use the green and pink color combination in your crafting?  What are some of your favorite color combinations?

Newest article:
Looking for older articles? Click here!

I included this post in Michelle's Delicately Constructed Friday - 5/18/2012 and Erika's It's a Wrap Link Party - 5/21/2012.

Great offer from SocialSpark!  Take advantage of it while you can.