Showing posts with label embellished. Show all posts

Thursday, January 19, 2012

how do you create a nest piece of jewelry?

The February EBW Challenge theme is simply Nest.  You can read more about it here.  Around the time that the challenge was announced, I came across this tutorial via Pintrest.


There are a number of variations of this idea out there, but I decided that this tutorial would work perfectly for a little nest that could be part of a beadwoven piece.

I made the nest first.  I used some pearls that I had left over from an old project.  Wire wrapping is not really something that I enjoy, but this was pretty easy and the result is very satisfying.

I paired the silver nest with brown cube beads, brown and white lamp work beads, and seed beads in earthy tones.

There are so many possibilities for these little nests, but in keeping with my goals for this year, I used my skinny wrapped peyote cuff design as the base for this bracelet.  The nest is so small and delicate that it doesn't need a substantial piece of beadwork paired with it.  It just needs something that fits with its style.

The lamp work glass beads are from Jen of blueseraphim.  I'd never embellished a cuff this skinny with lamp work beads, but it worked very well.  (I used a larger white bead of hers for the clasp, too.)  I have some square beads from her in other colors and may use them for similar bracelets.  Any thoughts on this?

I am not planning to make nests for more beadwoven pieces in the near future.  However, I would like to get some metal charms to pair with them for charm sets.

Do you have a preference?  Are there other bird charms that you like?

This bracelet is available in my Etsy shop right here.  Voting for the EBW challenge will take place February 9-15.  I will post more information about it then.  For now, you can check out the other entries for the challenge by searching "ebwc" on Etsy.

I included this post in Michelle's Delicately Constructed Friday 1/20/11.

Tuesday, October 25, 2011

November EBW Challenge Piece

I listed my November EBW Challenge piece earlier this week.  The theme for this challenge is Twisted.  You can read more about it here.  You can also see a breakdown of the glass beads that I used here as well as an in progress shot here.  To briefly recap, I've been designing a line of herringbone bracelets and wrap bracelets/necklaces for 2012.  When I found out that the theme was Twisted, I knew that this would be a perfect opportunity to make a sneak peek twisted herringbone piece for my line.  For some reason, I decided that it had to be in blue.

I was originally going to mix all of the blues together but I decided very early on that it would be better to do twisted stripes of light, medium, and dark blues.  It brought out the twisting in the design much more...and it made it a lot easier to follow where I was with the stitch.  Now that I've worked it once, I might be able to work it with a single color or mix of colors more easily.

As always, the embellishment work was a lot of fun.  I loved pulling all of the different blue Czech glass and adding it in after I'd completed the base.  Since I'd never made a twisted tubular piece before, I didn't know how well this embellishment technique would work, but I'm pleased with the result.  The beads follow the twisting pattern and rest comfortably against the bead work.

This piece can be worn as a necklace or a triple wrapped bracelet.  This is the first time I'd photographed a necklace with my new display in the light box.  I'm pretty pleased with the result.

I can easily add an extender chain of any length to this piece which furthers the versatility possibilities.  I've been wearing a couple of my new herringbone pieces this past month as part of my process to "test drive" the new line.  I am pretty picky about bracelet size, but these pieces really do fit a range of wrist sizes.  I haven't custom designed any for myself and have still worn several of them comfortably.

I'm not going to add charms to all of my herringbone pieces.  I love having the focal for these longer ones that can be worn as necklaces, though.  The herringbone works as a necklace on its own, but I love how the focal anchors the whole piece.  For the focal, I used a leaf charm with a piece of drilled sea glass from Kristina of akkricket.  I've been holding onto a batch of glass for a while and am so glad I have a new use for some of it.

My challenge piece is available for sale here.  I will do a preview post before Christmas of what else I've been developing for my new line.  I have a bunch of different color combinations and styles in the works.  If there's anything you'd like to see, let me know.

Voting for the challenge will take place November 9-15.  I'll have all of the voting information here when the challenge starts.

Tuesday, August 23, 2011

September EBW Challenge Piece

The September EBW Challenge them is Lions, Tigers, and Bears, Oh My.  You can read more about it here.  I've already discussed this challenge a little bit in a couple previous posts so I'll try not to repeat too much information.  For this theme, we can take any element of the lions, tigers, and bears theme and pair it with any other element from The Wizard of Oz.  I'm not sure how I came up with this so quickly, but I decided to create a yellow brick road surrounded by emerald green with a lion just starting up the path.

I'm still on a right angle weave kick so I used the same base that I did for my last two challenge pieces.  You'd think that after making three right angle weave embellished pieces so close together, I would be ready to move on, but I'm not sure that I am.  I think that it would be neat to make another one and write a pattern for it.  I may wait a bit to do that, though.  Anyway, it was still fun making another right angle weave base and embellishing it.

As I said in my first post about the beads, I was originally thinking of using Swarovskis, but when I went to Michael's, these other beads sets caught my eye.  I would go with something smaller for embellishment in the future because the beadwork got pretty tight at the end.  It was difficult getting the clasp done.  It was still worth it, though, because I love these beads.  I think that the bright colorful look completely fits with the Wizard of Oz.

As a result of the beadweaving getting tighter than my previous two embellished right angle pieces, this piece curved a little, which made it tough to photograph.  When it started curving, I was worried that it would end up like this piece, but it didn't.  This curving is much less severe, and as a result, the cuff is much more comfortable.  If this weren't for a challenge, which requires that we list our pieces on Etsy, I might be tempted to keep it.

Thanks again to Sharla for the paw print charm!  It's the perfect touch for this piece.

I think that for my pattern right angle cuff, I'll go back to some of my stand by colors such as turquoise and purple.  If anyone wants to see anything in particular, let me know.

My Wizard of Oz cuff is available here.  I'll have more information about voting next month.

Wednesday, June 22, 2011

July EBW Challenge Entry

Even though this was a crazy month to create, photograph, and list a challenge entry, I didn't want to pass up the Sizzling Sunshine and Soothing Water theme.  One of the aspects of this challenge was that we had to base our entry off of a specific photo.  I really wanted to use one of my own photos, and I really wanted it to include sand as well.  I'm a huge fan of the Indiana and Michigan Dunes and was disappointed that I didn't have a photo that really fit this theme.  The last time I was there, it was pretty overcast, and I don't have any other digital dunes photos.  But I found another one that worked perfectly.  This is me in Honduras in early January 2008 on a cruise excursion.  I love how you can see the sand right through the water.


I was also inspired by this photo from our honeymoon in Hawaii Dec 06/Jan 07.

Some of you may remember this post with a lot of the beads that I used for this piece.  I also used the new cream and yellow seed beads that I posted about here and some seed beads from my regular stash.

I created a right angle weave base.  I haven't done a lot of multi-row right angle weave pieces, but it's pretty straight forward.  I added a second later of right angle weave embellishment, which is when I added the shells.  The third and final layer was the real challenge for me because I'd really never attempted anything freeform with beadweaving.  I'm pretty pleased with the result.

I have to mention that I got inspiration for this shot from Cheryl of littlestonedesign (see this example).  The weight and general structure of this cuff made it tough for me to use some of my regular poses.

I know that there weren't any shells in either of my pictures, but I felt like the piece needed something besides seed beads.  The color of these shells fit perfectly with the sunshine component of this theme.  The metal sun button also fit well.

I'm not planning to make more cuffs like this any time soon.  If I do, they'll be simpler embellished right angle weave cuffs.  This was still a lot of fun, though.  Some of you may know that I often think of myself as creative but don't think of myself as an artist.  I feel like I actually created a little piece of art for this challenge.

You can purchase my challenge piece here.  Voting will be the beginning of July.  I'll have more details about it when it gets closer.

Thursday, June 2, 2011

working with metallics and wrapping up May custom orders

I don't work with metallic beads very often.  However, I got inspired to make this piece after I made my winter Art Beads piece, which had metallic cube beads as part of the base.

It's available here.  The small embellishment beads were a freebie from Shannon (beadsandbabble) a while back.  A couple of them are still available here. This was definitely a break from my usual colorful palette.  It's good to mix it up with these neutrals sometimes.

This week I finally wrapped up my last two May custom orders.  I finished the second of two leafy bracelets for a new customer.
The customer wanted the purple in the design and less brown the original.  I never would have though to put purple with this palette, but the result is neat!  I had plenty of beads to make another one so there will be one similar to this in the shop soon.  The new one will have touches of purple and green with lots of gold.  I'm super excited about it.  I  used more focal beads from alishawhite for this piece.

I also finished the earrings to match my periwinkle and black leafy design, a slightly different version of my original leafy design.  Remember my sneak peak?  I had to rework this design a couple times, but the final result was worth it.

I'm not making a lot of earrings right now because there are plenty in my shop as it is and my interests are elsewhere.  But I'm always happy to make custom requests like this.

This week I also got a lovely picture of the recipient of another recent custom order.
I love seeing people wearing my work!

May custom orders are officially wrapped up.  Bring it on June!

Wednesday, May 18, 2011

"What's Old is New Again" Art Beads design partners piece

Typically I complete my Art Beads pieces about three weeks after the themes are announced.  I got the initial e-mail for the spring theme at the very end of March and didn't complete my piece until this past Sunday.  The size for one of my bead sets was mislabeled on the Art Beads site.  It took a couple weeks to get a new set of something similar in the right size.  I've also been busy with custom orders (no complaints there!) and all of the moving and graduation stuff.  But I finished it and am really happy with the result.

The theme for the Art Beads design partners is "What's Old is New Again."  We were supposed to use any old or vintage inspired components with or without new components to create a brand new piece.  I didn't have any initial idea for the theme.  I started browsing the suggested site categories and came across these patina daggers in the glass beads category.  I'm sure that it's no surprise that I was immediately drawn to them.  I've been eying some similar ones in Shannon's shop for a while, but hadn't bought any yet.  This was the perfect opportunity to use them.  The whole set with orange, lime, turquoise, and purple reminded me of the 70's, which fit perfectly for this theme, so I decided to go with it.

Once I was set on the patinas, I hunted through my own bead stash for cube and seed beads in coordinating colors.  I supplied all of these myself, although three of the cube bead sets were ones that I'd purchased from Art Beads on my own.  You can see my sneak peak post about this here.  I filled in the patina daggers with orange, lime, and transparent green daggers.  I love the dagger beads on Art Beads, but as I've posted about here before, it's cheaper to buy them in bulk elsewhere.  Usually I get a few unusual designs from Art Beads and fill them in with bulk solid colors.

This is the first dagger bracelet that I've made with side fringe.  I used coordinating orange and lime pressed Czech glass beads, along with the seed beads, with the same technique that I use for my other skinny fringed/embellished bracelets.  If you want links for the specific Czech glass that I used in this piece, let me know.

Art Beads has several awesome triangle clasps in their clasp category.  I choose this one because it was vintage inspired and has the circles on it, which mirror the ones on the patinas.  Normally I would have used a button from my own collection, but we need two product categories for our pieces, so this was a perfect way to make that happen.

I decided to name the piece after That '70s Show.  I thought that this would be appropriate as I grew up in the 80's and got my inspiration for this retro color combination from my own generation's pop culture.

I love the way the colors came together in this piece.  I also love the side fringe.  I think that the size and shape of the beads that I chose worked really well as a little border.  I may experiment with similar fringe in the future.

It's available here.  I collected some new green daggers in the process of making this bracelet so I'm planning an all green dagger bracelet in the future.  That's the only dagger piece that I have in the works right now, but as always I'm open to other suggestions.

Disclosure - I received my ArtBead's products free of charge through their blogging program. I am honestly reviewing their products and have not been paid for my endorsement as it pertains to the products I received.

Saturday, May 7, 2011

triangles and newest custom order completed

I listed my newest skinny embellished cuff this week.

The cuff is available here.  I don't even remember when I first decided that I should make a triangle embellished cuff.  I ordered the first three sets of triangles well over two years ago.  This past fall I finally got motivated to find one more set to round out the color combination and to make sure that I had coordinating cubes.  These pictures really don't do the color balance justice.  The green and purple blend beautifully with the blue.  I'm pleased with the overall look, especially the chunky triangle side fringe.  I would love to make another one of these if I can ever put together another great set of triangle beads and cubes.  Triangles can be hard to find.

I also completed a new custom order this week.  I am almost as excited about the story behind this order as I am with the finished jewelry.  Shannon (beadsandbabble) has a friend (acquaintance? not really sure about the connection) contact her about a jewelry order, using some of Shannon's beads.  Shannon is super busy right now getting ready for her son's wedding and filling tons of orders for her shop.  So she referred her friend to me and sent me a note as well about the order.  The request seemed pretty straight forward.  We worked out all of the details.  She ordered the beads, which I shared here previously, and had Shannon send them directly to me.  As soon as we got back from Milwaukee last weekend, I got to work.


I'm not sure why the bracelet picture is a little more vivid.  The seed beads are from the same hank as the necklace beads.  This was definitely a little different endeavor for me.  It was a pretty straight forward project, but like with just about any new crafting technique, there is a little learning curve.  Honestly the hardest part about these pieces for me was mastering the square knots.  I got my directions from this tutorial and kept them in front of me the entire time I was working on both pieces.  Otherwise the stringing and clasps weren't too difficult.  FYI, if anyone is planning to make pieces like these: it's really important to glue every square knot.  You can wait until the end to glue all of them, but I found it easiest to keep everything tight by gluing as I went.  I use Loctite Super Glue, which is some of the best glue you'll ever find.

Both pieces have extender chains so the length can be adjusted on either as needed.  Both pieces can also be worn straight or twisted.  These pieces are gifts for a good friend of the buyer.  Hopefully she'll be as pleased with them as we are.

I also have to give Shannon another huge thank you for the referral!  I never would have gotten to do this without her.  As always, her beads were wonderful to work with for both pieces.  I am not in a hurry to make anything like this in the near future, but it's tempting to just so I can order another Czech seed bead hank.

I'm waiting for my massive load of leaf beads for my next custom order now.  While I'm waiting, I'll be working on my Art Beads piece and the plan for my next EBW challenge piece.

I keep forgetting to post my newest crafty hub here: Shipping and Packing Resources for Online Jewelry Sellers.  If you've missed any past hub links, all of my crafty hubs are linked on the right side of my blog now.

Thursday, April 21, 2011

a new garden for spring 2011

I'm not the best about making and listing pieces in the right season, but I had to list this piece while it's still spring.

It's available here.  This is the third flower embellished cuff that I've made now.  The second one is still available in my shop here.  This new one is more like that second one than like my first one.  It would be fun to do another bright cuff like that.  But I love all of the red in this new cuff, too.  And I have not gotten tired of the dark green base.  I would make another flower cuff just for that.  The disc beads are from Art Beads mixes.  I've been collecting the flowers over the past year, mostly from local bead shops.  And the button clasp is another Lisa Peters creations (LisaPetersArt).  She's been listing lots of new goodies lately so go check out her shop if you haven't been over there in a while.

As I've mentioned recently, I'm slowing down on the peyote cuffs for a while.  But I still have a decent number of flower beads left so there will probably be another one of these cuffs at some point.

Saturday, March 26, 2011

bargello rainbow

Does anyone remember this sneak peak?  Probably not haha.  I upgraded my Bargello Ribbon pattern from Carol Dean (SandFibers) a few weeks ago and finally listed one of my bargello pieces on Etsy, which you saw the sneak peak of way back in the summer.

It's available here.  As you know, I really enjoy embellishing cuffs.  This is one of those ideas that I had in the back of my head for a ridiculous long amount of time before I actually put it together.  I got the inspiration for the colors from this set of bowls.  It's great how inspiration can come from different mediums like that.  The delicas were pretty easy to find, but it took me a long time to get all of the cubes in coordinating colors and figure out exactly how I wanted to work the embellishment.  And then of course, I actually had to bead it.  I'm so happy with the result, though.  Carol's pattern is amazing.  I still love this color combination, and I'm very satisfied with the embellishment.

The next bargello cuff that I list won't be embellished, but if you like this look and/or have ideas for other color combinations, let me know.  I may make more in the future.

Monday, August 9, 2010

voting for the August EBW Challenge and my newest red piece

Before I get to red, I want to mention that voting started for the August EBW Challenge Gold and Silver today!  Voting is August 9th-15th on the Etsy Beadweavers blog: http://etsy-beadweavers.blogspot.com.  Voting is on the right side of the page.  You can view all of the entries in the most recent blog post.  My entry is number 5: Gold and Silver Wrapped Skinny Peyote Cuff Bracelet.  Thank you so much to everyone who has already voted for it!


For those who are bead weavers, you can purchase the pattern for this cuff here.

And now the other topic for this post: red. :) I know that I've written this before here, but I still believe that red is one of the most underrated colors.  I remade my Red Striped Beadwoven Peyote Triangle Pendant design this week.  Because it took me so long to finish the coordinating cuff after the pendant, I never did photograph both pieces together.  I figured that now would be a good a time as any to do that.  I shot some new pictures of the cuff as well.  The originals weren't bad, but these are better.

Because the ribbons were such a big hit at the Arts Festival, I'm photographing all of my pendants with ribbons now.


Here's one of my shots of the two pieces together.  You can see the other shot in the triangle listing.

In an effort to show more modeling poses, I took a few pictures of myself wearing the pendant.  This was the best one.  I don't know if I'm going to use something like this for all of my listings now, but I think that's worth continuing to experiment with the idea.


Also, at everyone's urging, I experimented with some different arm/hand model poses for the cuff.  Let me know what you think.


I still love how the coordinating cuff turned out.  It was a lot of work coming up with this design, but it was well worth it!

Saturday, July 24, 2010

treasury feature, August EBW Challenge piece, light box up and running

I think that this week I've set a record for the number of new treasuries that I'm included in during one week!  Chris Maj (beadn4fun) included my green button embellished right angle bracelet in her "Bead" the Heat treasury tonight.  16 beautiful EBW items that are on sale for Christmas in July.

You can view this treasury live by CLICKING HERE.

As promised, I listed my August EBW Challenge Gold and Silver piece tonight.  It's my gold and silver wrapped skinny peyote cuff.  I've had this idea for quite a while.  This challenge was the perfect opportunity to finally make it happen.  It also pushed me to create my skinny wrapped peyote cuff pattern that I'll be listing tomorrow.


I really love the button on this cuff.  My mom gave me a stash of vintage buttons for Christmas that she'd purchased in bulk from a fabric store, which included a large number of metal buttons.  This is only the second one that I've used so far.  There will be more of them in my pieces in the future.  You can search "ebwc" on Etsy for more challenge entries that have already come in.  I'll post more about the challenge as voting approaches.

I got my light box up and running today.  I'm really pleased of how well everything is working so far!  I  followed the instructions from this DIY tutorial on the digital-photography-school.com web site.  The only things that I did differently are that are used two lights instead of one (on the recommendations of many Etsy blogs/forum posts about light boxes) and that I used Ott lightbulbs (on the recommendation from this Etsy forum post).  For those who are interested in doing this themselves, here's my breakdown of the materials/costs:
-1 large cardboard box (I had this at home because I don't throw out boxes when we'll almost definitely be moving within the next 2 years, otherwise you can probably get one from work)
-white poster board (I already had this at home from my craft fair sign project, but poster board is less than $1 a sheet at Wal-Mart or Target)
-white fabric (I spent $2 on a 100% cotton fat quarter at Jo-Ann Fabrics, but I know that many of you probably have this already...FYI the fat quarter was almost the perfect amount for my box)
-2 desk lamps (I got mine for $10 each at Target, make sure that you get lamps that will accommodate 60W bulbs...a lot of desk lamps are only 40W)
-2 Ott bulbs (I got this kind of bulb at Lowe's for $5 each)
I also used scissors (both paper and fabric), masking tape, and a ruler, all of which I already had at home.  I did not use a knife or glue like the web site tutorial suggests, but you can certainly use these materials if you choose.  The only other thing that I purchased is my tripod, which was this tripod from Target for $15.  It had by far the best reviews out of all of the cheap tripods (under $30) that I browsed this week.  No, it would not be conducive for professional shooting or extended outdoor shooting, particular in areas with uneven footing, but for limited indoor shooting, it's great.

So as you can see, the costs were pretty minimal.  Here it is all set up.  I ran a power strip over to the desk so the desk lamps could reach.  I weighed the bases of the lamps down so that they could angle down this far.  Jake has pretty much moved his main painting area to the living room so I should be able to leave my box set up on this desk in our second bedroom.


I did a small shooting session when I got everything up and running to make sure that it works.  I used a single page from a version of Fur Elise that I got free from Dover online last year.  It doesn't look as classy as my Chopin book, but until I run off some single pages from Chopin (the large book doesn't fit when it's open in the box), it will work.  You get a sneak preview of my newest button bracelet here.

I shot a handful of of pictures with white backgrounds, too.  It doesn't really feel like me haha, but I am pleased with how it looks.  Maybe I'll get used to it as I get more comfortable with the box and the tripod.  As I wrote earlier today, I'm definitely not giving up the music background, but I might experiment with 1-2 white background shots for a listing.

Jake got excited about the light box and had me photograph a few of his Warhammer models.  I had the lights aimed more directly overhead when I started, then switched to the side angle that you see above.  These couple shots are from the side angle.  The detail is much better.  The top of the models, especially the faces, got lost in the dark (even with editing), when the light came from overhead.

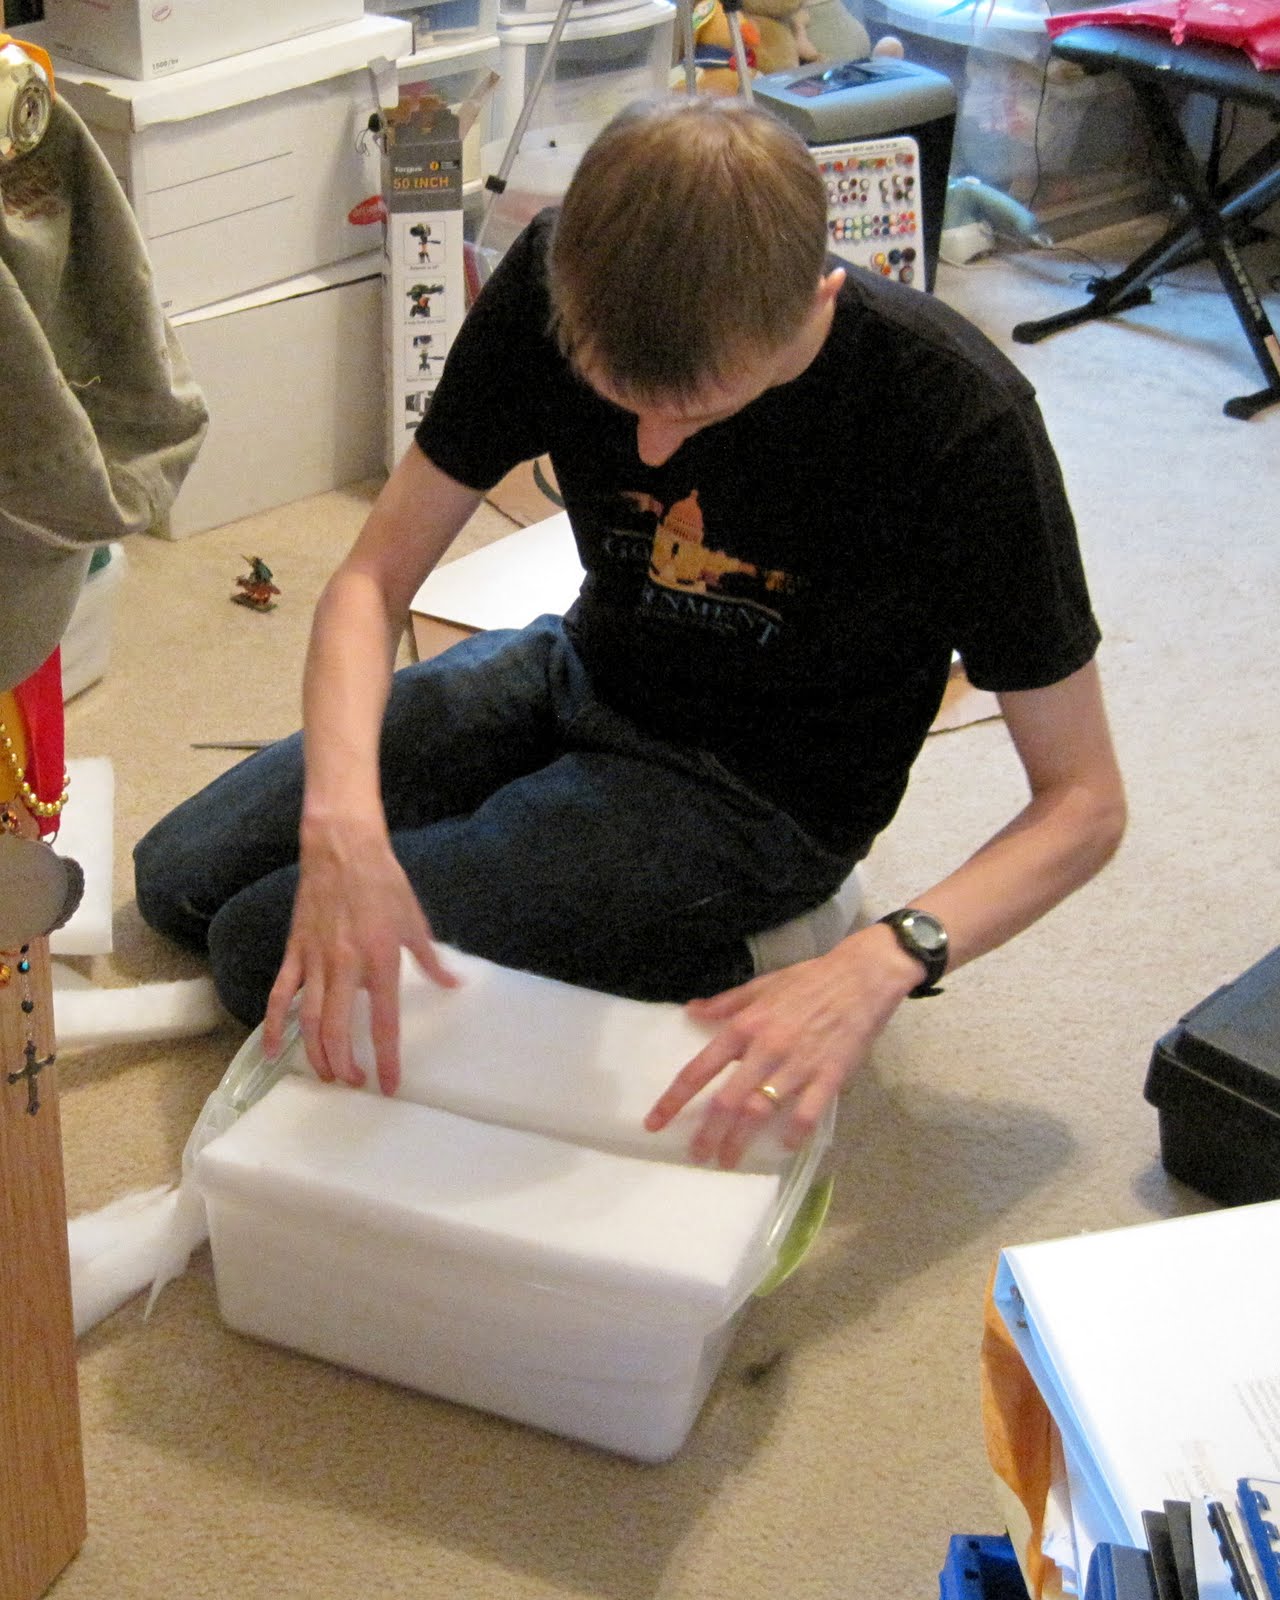
My crafty work also inspired Jake to work on his next storage box for his models that he's had the materials for for quite a while.  This was another great DIY tutorial that we found online a few years ago.  This is Jake's third DIY box.