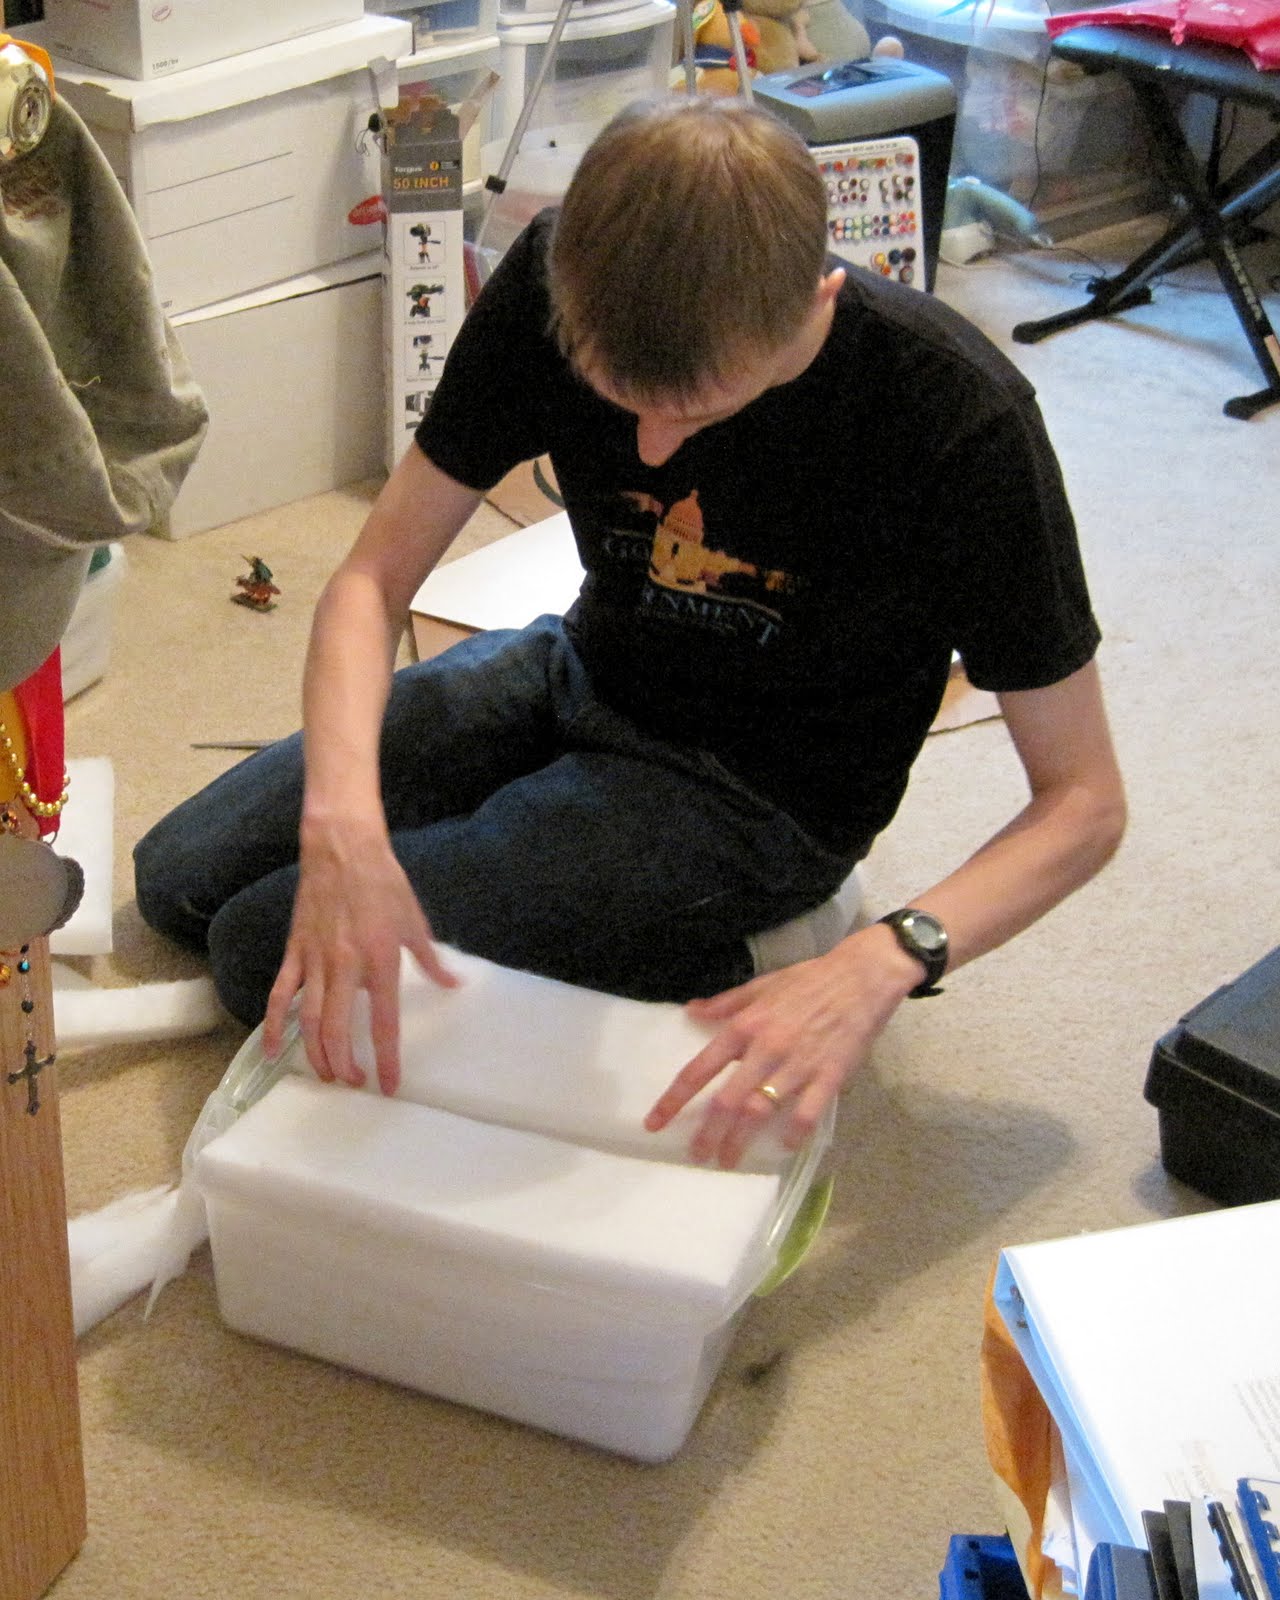
Showing posts with label light box. Show all posts

Monday, August 22, 2011

photo re-shoots

Some of you may remember how in my looking at how I got where I am today post, I talked about how I took new photos of most of my inventory last summer.  Thankfully most of those photos have held up pretty well, and I haven't had to do too many re-shoots since I started using my light box.  However, there are a handful of items that have slipped through the cracks.  There are a few newer items that need a couple new shots, too.  For example, when I started using the light box, I had no idea how to set up good camera angles for my earrings.

So I've been using this slower summer time to take a few new photos.  This is a slightly tedious process.  I know that most of us would rather be making and photographing new items.  However, continual shop improvement is so important on Etsy.  I get frustrated when I see successful shops that simply refuse to update photos, especially for made to order items.  If you make a new one, take some new pictures.

I'm also really hoping for a very good 2011 holiday season.  I've built up a ton of new followers this past year and received a number of comments from people who are eying particular items with gift ideas in mind.  I want to do everything that I can to have a great shop ready for those shoppers who will be here before we know it.

Here are a few of my recent re-shoots.

Some pieces are much harder to photograph than others.  I'm still not totally sure what to do with these little daggers to show their full effect.  I did include one photo in this listing with me modeling it on my arm, which should help because the daggers hang much better that way.

This was one that I already did a re-shoot for in the light box, but I did it before I got my gray backdrop.  The music was a little distracting, and the white was too harsh for all of the neutral colors.  This is a piece that might actually do better against a colored backdrop, but this is still better than the previous shots.


Thursday, July 21, 2011

update: house organization

It's been a while since I posted any pictures of what we've been working on around the house lately.  I thought that everyone would enjoy a little update.

When my mom was in town earlier this month, we painted the living room and main floor bathroom.  The living room was Packer yellow and terribly done.  Whoever painted it didn't tape the woodwork and painted right over the light switches and whatnot.  The bathroom color somehow escaped me when we were first looking at the house.  It was the most dull shade of light purple that I'd ever seen.  I'd been thinking about painting the purple bedroom first, but the bathroom had to change.  Secretly (or not so secretly anymore) I love the purple bedroom so it's staying.


We were promised this dining room table from my in-laws 3 years ago or so.  Now that we have a dining room, we made a big push to get it.  I just ordered some new seat cushions.

The previous owner left this candle holder behind.  I got a tip to look for candles at a dollar store.  Normally I don't shop there, but it is an excellent place to find very inexpensive candles.

For now, I'm using the purple bedroom for my craft storage and photo staging.  When we have kids, I can transfer a lot of this to the basement (where there will be tons of room when we've finished unpacking the remaining boxes).  I say storage because I do the vast majority of my jewelry making while sitting on the sofa.  This room is large enough that I may get motivated to do some of my other craft projects like button magnets and card making in here.

The previous owner left all of these wire storage units behind in the second and third bedroom closets.  Can you believe that there are empty spaces in them right now?  I may try to transfer some of what is on the desks right now into these units so I have some real work space in this room.

The previous owner also left a computer desk behind so this spare one is in this room.  I'd like to use this space for my other crafty projects.  Right now it mostly has my future project ideas as well as one of my my button gluing trays. Both desks in this room have slide out keyboard trays so I can move a lot of this stuff onto those.

This set up isn't too different from the condo.  Isn't it great how much light this house has?  I shot these pictures in natural daylight with no lights on.

This is the one corner of the room that I haven't done much with yet.  I'd like to get a bookcase for the empty space.  Jake is using the small table that I used for my keyboard for something else right now so I haven't set it up yet.

These final cubes have my card making supplies as well as a few other random craft supplies.  I have a lot more stamps, stickers, etc. elsewhere, but this is what I'd organized before we left so it's what's here now.  I'll keep adding as I keep unpacking.

Finally, in case anyone was wondering, Angel is pretty relaxed here now, especially in the basement.

Tuesday, March 29, 2011

organization

This is slightly off topic, but you all get to see all of the hard work that we've put into organizing our second bedroom the last few months.  Honestly this is the best that this room has looked the entire time that we've lived here.  It's too bad that we won't be able to enjoy it a little bit longer.  But it gives me hope for our organizational skills in our next place.

The one corner that you can't in these photos that's by the window just has some more plastic drawers and a big plastic storage stuff (which of course has more crafty supplies in it).  I move the tripod right next to the desk so it doesn't stick out like that anymore.  Otherwise this is pretty much exactly what it will look like when our realtor photographs our place today.

You get one more look at my light box/finished jewelry/other random supply storage.

Plus you can see my bead storage on the shelf again.  It feels so good to have all of that organized!

Wednesday, February 23, 2011

new light box set up and a St. Patrick's Day treasury

As promised, here are some pictures of my new light box set up.
The new desk is in exactly the same spot in our condo as our old desk.  The room has a west facing window so it gets a decent amount of light during the day.  Obviously one of the reasons for having the light box is so that I can shoot in less than ideal lighting conditions, but it's nice to use the natural lighting when I can.

I wasn't happy with the light angles when the lights sat flat on the desk so I put some books under them.  It's almost exactly the same angle as before now (when the lights were positioned above, pointing down at the box).  I've been happy with it thus far.


Jake had a whole bunch of his Warhammer stuff stored on the desk, but he hadn't painted there in over two years.  So I'm using this desk now for my business cards, small stash of jewelry boxes (which I can add to as needed whenever from the box of them in the closet), finished jewelry (in the Tupperware), and some other supplies in the basket on the right back side.  The fake drawer in the front slides out for more storage which will be great for stashing "in progress" stuff away when we have company.  The two drawers under the desk are now much more organized with Warhammer stuff.  I got some more drawers for some of the other "not currently in use" Warhammer items, too, so they won't have to sit on top of the drawers like they are now.  The bigger stuff like scenery supplies will fit into some crates that we recently cleared out.

This desk is smaller than the old one so we have room next it for some other things like the shredder and garbage can.  And of course, Angel still has her little kitty bed under it, which works well because I don't sit at this desk nearly as much as I sit at my computer desk (which I'll also have to post pictures of sometime because I've put a lot of work into organizing it recently, too).  Like the little angel she is, she's already adapted to the change perfectly.

You can see some other areas of progress in this last picture, too: namely one of the bookcases and our luggage (with my tripod leaning against it...I do have a storage spot in the closet for it).  You don't want to know how all of that has looked for the better part of the last three years.

This room is still a work in progress, but the new furniture additions have been a HUGE improvement.  I'll have more pictures over the next month as the rest of the room comes together and continues to look more like a room that we actually use than like a storage closet haha.

And finally, the newest treasury that I'm in is a St. Patrick's Day treasury called Wearin' O' The Green from Mary (MaryTDesigns) with my Beaded Bracelet - Petite Garden.  Thanks Mary!

Saturday, July 24, 2010

treasury feature, August EBW Challenge piece, light box up and running

I think that this week I've set a record for the number of new treasuries that I'm included in during one week!  Chris Maj (beadn4fun) included my green button embellished right angle bracelet in her "Bead" the Heat treasury tonight.  16 beautiful EBW items that are on sale for Christmas in July.

You can view this treasury live by CLICKING HERE.

As promised, I listed my August EBW Challenge Gold and Silver piece tonight.  It's my gold and silver wrapped skinny peyote cuff.  I've had this idea for quite a while.  This challenge was the perfect opportunity to finally make it happen.  It also pushed me to create my skinny wrapped peyote cuff pattern that I'll be listing tomorrow.


I really love the button on this cuff.  My mom gave me a stash of vintage buttons for Christmas that she'd purchased in bulk from a fabric store, which included a large number of metal buttons.  This is only the second one that I've used so far.  There will be more of them in my pieces in the future.  You can search "ebwc" on Etsy for more challenge entries that have already come in.  I'll post more about the challenge as voting approaches.

I got my light box up and running today.  I'm really pleased of how well everything is working so far!  I  followed the instructions from this DIY tutorial on the digital-photography-school.com web site.  The only things that I did differently are that are used two lights instead of one (on the recommendations of many Etsy blogs/forum posts about light boxes) and that I used Ott lightbulbs (on the recommendation from this Etsy forum post).  For those who are interested in doing this themselves, here's my breakdown of the materials/costs:
-1 large cardboard box (I had this at home because I don't throw out boxes when we'll almost definitely be moving within the next 2 years, otherwise you can probably get one from work)
-white poster board (I already had this at home from my craft fair sign project, but poster board is less than $1 a sheet at Wal-Mart or Target)
-white fabric (I spent $2 on a 100% cotton fat quarter at Jo-Ann Fabrics, but I know that many of you probably have this already...FYI the fat quarter was almost the perfect amount for my box)
-2 desk lamps (I got mine for $10 each at Target, make sure that you get lamps that will accommodate 60W bulbs...a lot of desk lamps are only 40W)
-2 Ott bulbs (I got this kind of bulb at Lowe's for $5 each)
I also used scissors (both paper and fabric), masking tape, and a ruler, all of which I already had at home.  I did not use a knife or glue like the web site tutorial suggests, but you can certainly use these materials if you choose.  The only other thing that I purchased is my tripod, which was this tripod from Target for $15.  It had by far the best reviews out of all of the cheap tripods (under $30) that I browsed this week.  No, it would not be conducive for professional shooting or extended outdoor shooting, particular in areas with uneven footing, but for limited indoor shooting, it's great.

So as you can see, the costs were pretty minimal.  Here it is all set up.  I ran a power strip over to the desk so the desk lamps could reach.  I weighed the bases of the lamps down so that they could angle down this far.  Jake has pretty much moved his main painting area to the living room so I should be able to leave my box set up on this desk in our second bedroom.


I did a small shooting session when I got everything up and running to make sure that it works.  I used a single page from a version of Fur Elise that I got free from Dover online last year.  It doesn't look as classy as my Chopin book, but until I run off some single pages from Chopin (the large book doesn't fit when it's open in the box), it will work.  You get a sneak preview of my newest button bracelet here.

I shot a handful of of pictures with white backgrounds, too.  It doesn't really feel like me haha, but I am pleased with how it looks.  Maybe I'll get used to it as I get more comfortable with the box and the tripod.  As I wrote earlier today, I'm definitely not giving up the music background, but I might experiment with 1-2 white background shots for a listing.

Jake got excited about the light box and had me photograph a few of his Warhammer models.  I had the lights aimed more directly overhead when I started, then switched to the side angle that you see above.  These couple shots are from the side angle.  The detail is much better.  The top of the models, especially the faces, got lost in the dark (even with editing), when the light came from overhead.

My crafty work also inspired Jake to work on his next storage box for his models that he's had the materials for for quite a while.  This was another great DIY tutorial that we found online a few years ago.  This is Jake's third DIY box.

Friday, July 23, 2010

new listing, getting ready to make a light box, open to suggestions

I listed my lime green beaded leaf earrings tonight.  They will be my final Christmas in July sale item for this year.  They're only $8.50 until the end of the month!  This will be the last time that I have this many items on sale for quite a while so take advantage of it while you can.


I bought supplies for a photo light box today.  As you probably already know, I prefer to take pictures outside in natural light.  However, I live in the midwest, and from mid-August-May, I'm out of the house from at least 7:00AM-4:30PM most weekdays.  Even when the weather is cooperative, this schedule doesn't leave a lot of opportunities for taking pictures in natural light.  I have scraped by taking pictures in sunlight when I can on the weekends the last couple years, but I would like to do something a little more consistent this year.  I'll post progress and feedback on the light box.

I'm also toying with the idea of experimenting with some plain white or gray backgrounds.  I've created my signature look with the sheet music background.  I've gotten a lot of positive feedback on that both here and at my shows this summer.  However, it is not the plain, teetering just on the edge of overexposed look that seems to sell well on Etsy.  I don't know that I'm ready to scrap my whole look, but I'm also ready to scream in frustration over not having more sales on Etsy.  Improving my music background photos and doing more to promote my site this summer (more blogging, Facebook, Twitter, etc.) has increased my Etsy views and hearts.  But it hasn't increased my sales.  So I'm open to suggestions.

Tomorrow I'm listing my August EBW Challenge entry piece.  Sunday I'm listing my first pattern.  Stay tuned.