
I got the idea for this from another vendor at one of my fall shows who, among other things, sold fabric covered hair pins. She had a larger display with a wood base as opposed to cardboard, but the concept is very similar with the fabric background and ribbon/rick rack display rows.

Supply List
-Several pieces of thick cardboard. Mine are 7" x 14". (I cut up a large mailing box from Christmas.)
-Approx 1/8 yard of fabric or enough to cover your cardboard in the color/pattern of your choice. (I purchased 1 yard of black cotton fabric for $4.00 with the intent of using it for several different projects.)
-At least 3 1/2 feet of ribbon and/or rick rack of your choice. (I purchased 2 new spools for about $1.00 each.)
-Packing tape. (Obviously I already had this.)
-Tacky glue. (We had some on hand. You can buy it at any craft store and most big box stores for $3-$5.)
-Fabric scissors for the fabric and ribbons. (I already had them.)
-Table top paper cutter. (optional) You can use a ruler and regular scissors to cut out your price sign and matte for it, but if you have a paper cutter, please use it.
-Fabric scissors for the fabric and ribbons. (I already had them.)
-Table top paper cutter. (optional) You can use a ruler and regular scissors to cut out your price sign and matte for it, but if you have a paper cutter, please use it.
-One piece of card stock or scrapbook paper for the price sign matte, approx 6" x 2". (I used a leftover scrap with something on the back that I wasn't going to use.)
As you can see, I spent about $6.00 on this project and will have lots of fabric, ribbon, and rick rack left over for other projects. You could spend less if you didn't want leftovers, but I bet that many of you reading this already most of these materials and can use these things that are on hand.
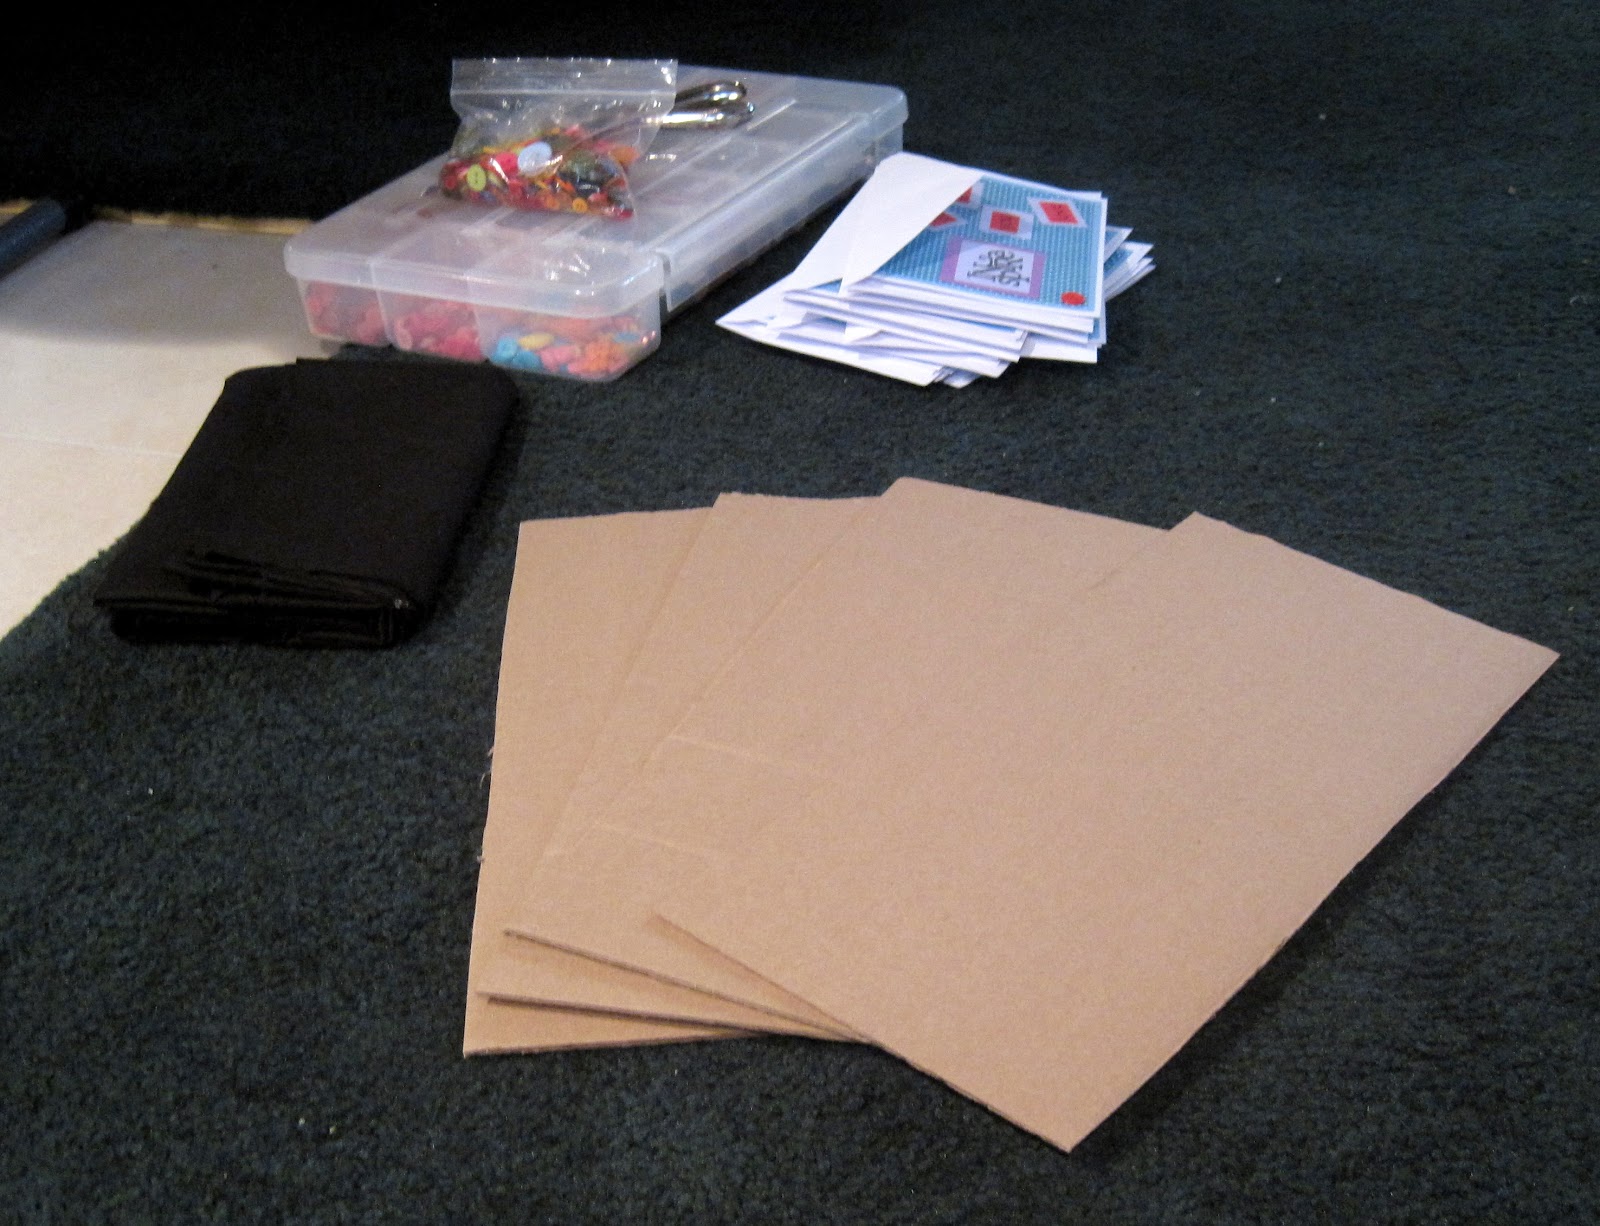
Here are my cardboard pieces and fabric ready to go. I used 4 pieces of cardboard.
I made a couple thin lines of glue around the edges of the first three pieces of cardboard. I stuck them together and stuck the fourth piece on top.

Make sure that the pieces of cardboard are lined up and pressed tightly together.

I put the stack around one of my button storage boxes for a couple hours while the glue dried to ensure that none of the edges curled up.

Cut out a piece of fabric that has at least one extra inch on each side. The other projects that I'll be using the extra fabric for do not require specific measurements so I did not make measurements before cutting and just eyeballed it.

Tape the fabric to the back of the cardboard. Check the front periodically to make sure that the fabric is pulled tight. I ended up adding one more piece of tape to the right side after I took this picture to secure that loose piece near the bottom. The tape can touch the sides of the cardboard as long as it isn't visible from the front.

Here it is taped up.

I also eyeballed the ribbon measurements. Make sure that you cut them long enough so you can tape them to the back. That way your handy work will stay hidden.

I got out some of hair pins that I've made thus far to check how much space I should leave in between each ribbon/rick rack row. I did the rows one at a time so I could double check that there was enough space in between each one. I don't have a picture of the completed back, but I just used more of the packing tape to tape the ribbons in place.


I had enough space for five rows. Depending on how wide your ribbon/rick rack is and how long your hair pins are, you may be able to squeeze six rows. I know that those poor pins look a little lonely. I'll have lots more done soon enough.

You don't have to add a price sign, but personally I would. If you've done any craft shows, you know how often you get asked about pricing from customers. The more places you can list the prices, the better.
I typed my price sign in Word. I centered the text and didn't do any special formatting. You can play with the font/size as you like. I cut out both the price sign and the card stock matte for it with a table top paper cutter. I did not take exact measurements but simply eyeballed it before cutting. I attached the sign with packing tape. I made little tape rolls that I stuck to the back. If you decide to change your pricing at some point, it's easy to enough to remove this and tape in a new sign.


I added the remaining pins that I've made so you can get a better idea of how it will look filled up.

I don't know how many pins this would hold, but probably at least 50. Most likely you could fit 60-70.
The ribbons and rick rack do sag a little bit in the middle with more weight. If you don't like this, it's easy enough to add a couple drops of glue (I'd use Tacky glue or a fabric glue) in the middle of each row.
For displaying this at craft fairs, I will most likely put it on an easel (I buy my easels at Michael's for about $10) or lean it against some sort of large display item, like a basket, that is covered in fabric.
Obviously I designed this to hold hair pins, but I'm sure that this design would be useful for displaying other items, too. Any thoughts on this? Please leave a comment!
Also, if you make your own display, please leave me a comment with a link to your pictures.

Newest Article:
Product Photography: How to Tips for Cropping PhotosLooking for my older articles? Click here!
Where I linked up today:

I used this post for Michelle's Delicately Constructed Friday 1/13/12 and Erika's It's a Wrap Link Party - 1/16/2011.
That seems like a clever and good looking display. I didnt realize people still used bobby pins! I really like the colors in the item in your header...
ReplyDeleteLooks great Rose! This will be perfect for your next show and the price signage looks great...clear and easy to read!
ReplyDeleteVery cool Rose! I love that you thought about your new technique in terms of presentation too!
ReplyDeleteVery cool idea. And the bobby pins are adorable.
ReplyDeleteVery nice! I like your use of the ribbons and rick rack -- they give the display a "handmade" quality. The button hair pins will be a cute addition to your product line.
ReplyDeleteBeautiful! That turned out great.
ReplyDeleteThose are cute hair pins and I like your display! How'd you get all that done without Angel's help though? Hmmm.
ReplyDeletewonderful display! perfect for your hairpins! I like how you've clearly stated the price on the sign, giving people an incentive to buy more than one!
ReplyDeleteSo simple, but it does the job and looks great! :)
ReplyDeleteRose, that's very clever. Terrific idea for your next show.
ReplyDeletethis is a great inexpensive project and it looks great! I'll have to remember this, if I ever make buttons. I guess you can do the same thing and wrap a sheet of heavy metal, if you want to attach magnets. Thanks for sharing {:-D
ReplyDeleteThe display board is perfect and I love the hair pins. I think they will sell well for you. I do like the look of items on a black board.
ReplyDeleteThat's a great way to display the hair pins! Looks like it could be used to display other things, too.
ReplyDeleteYour button hairpins are adorable! I like the way you displayed them too. I need to make something like this for my jewelry :)
ReplyDeleteThank you so much for sharing this great idea!
ReplyDeleteI Will try tor my pins!
Great idea! It's neat and attractive. I imagine this same idea could be used for greeting cards. You could orient the rickrack either vertically or horizontally, depending on how you make your cards.
ReplyDelete